How addresses are suppressed
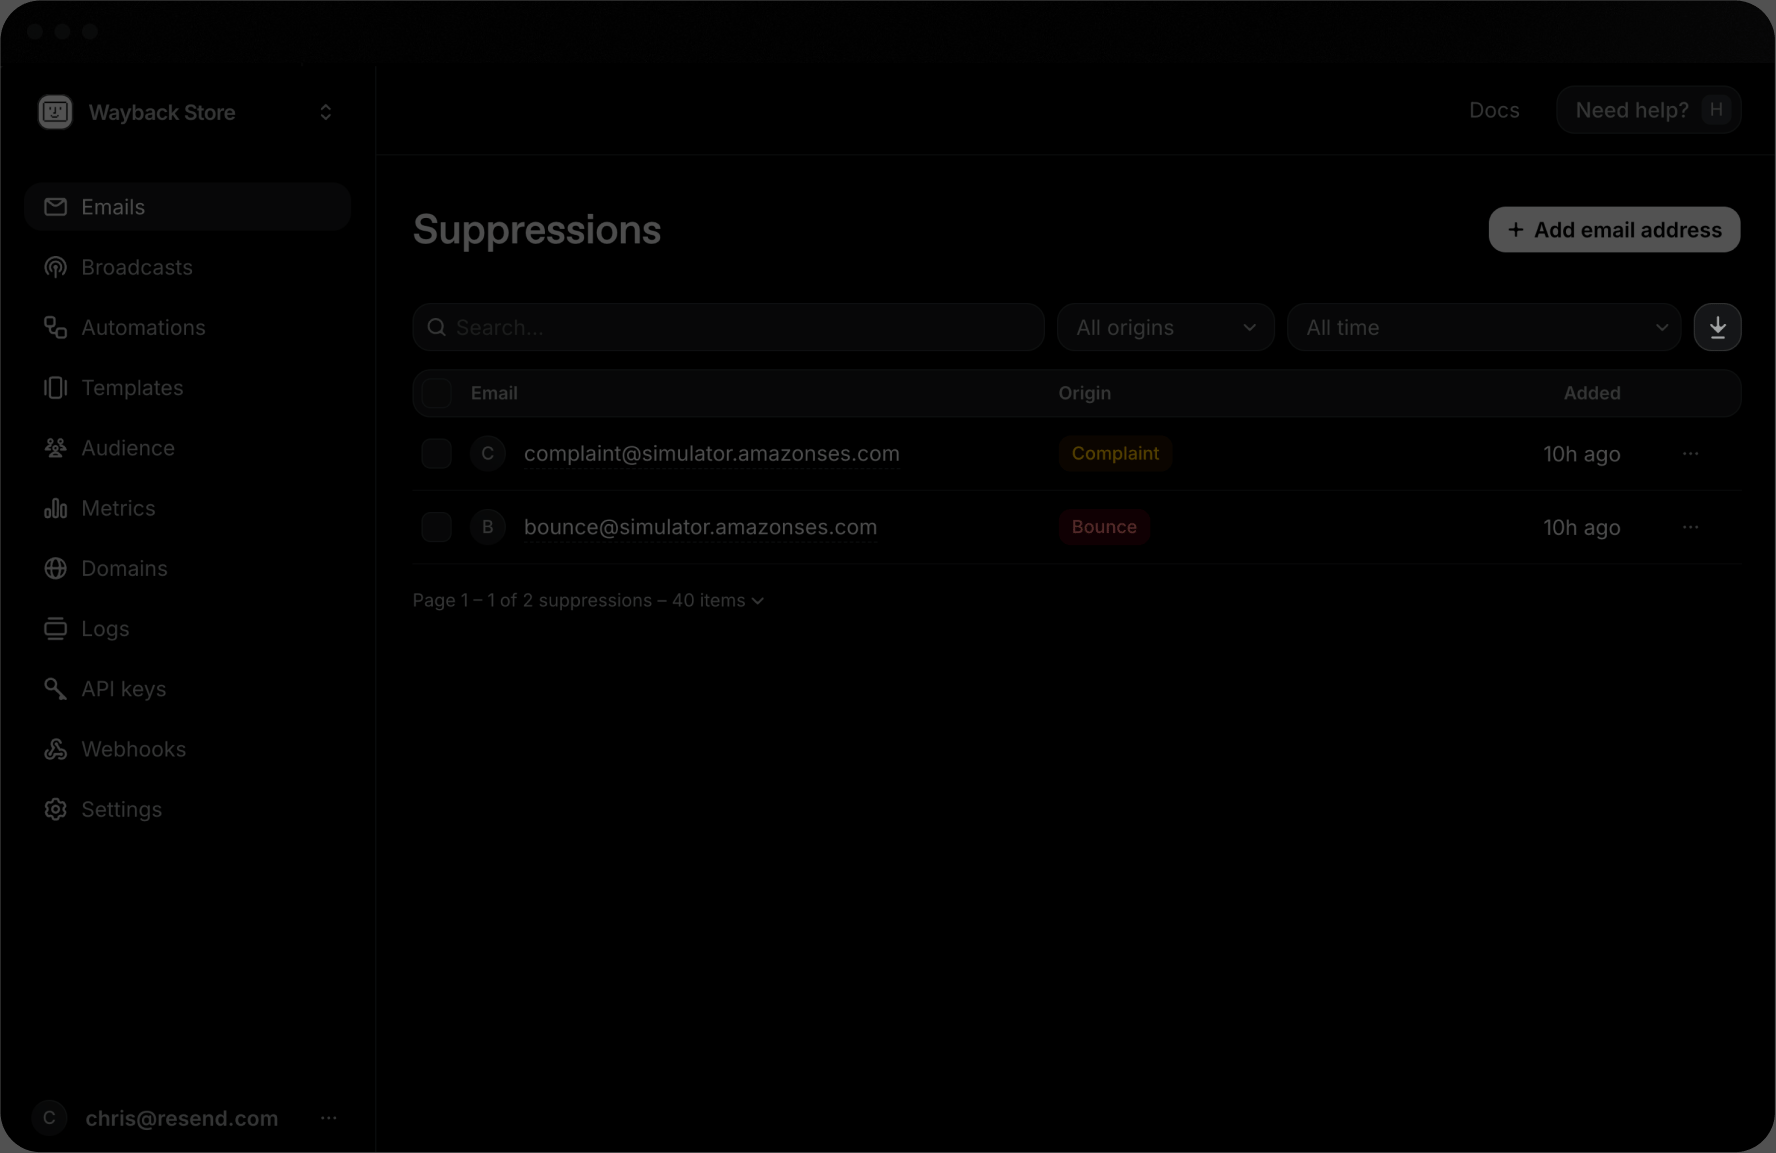
An address is added to Suppressions for one of three origins:bounce: the recipient’s mail server permanently rejected the email.complaint: the recipient marked your email as spam.manual: you add the recipient’s address yourself.
Viewing Suppressions in Resend
You can see all Suppressions in the Dashboard or list them in the API.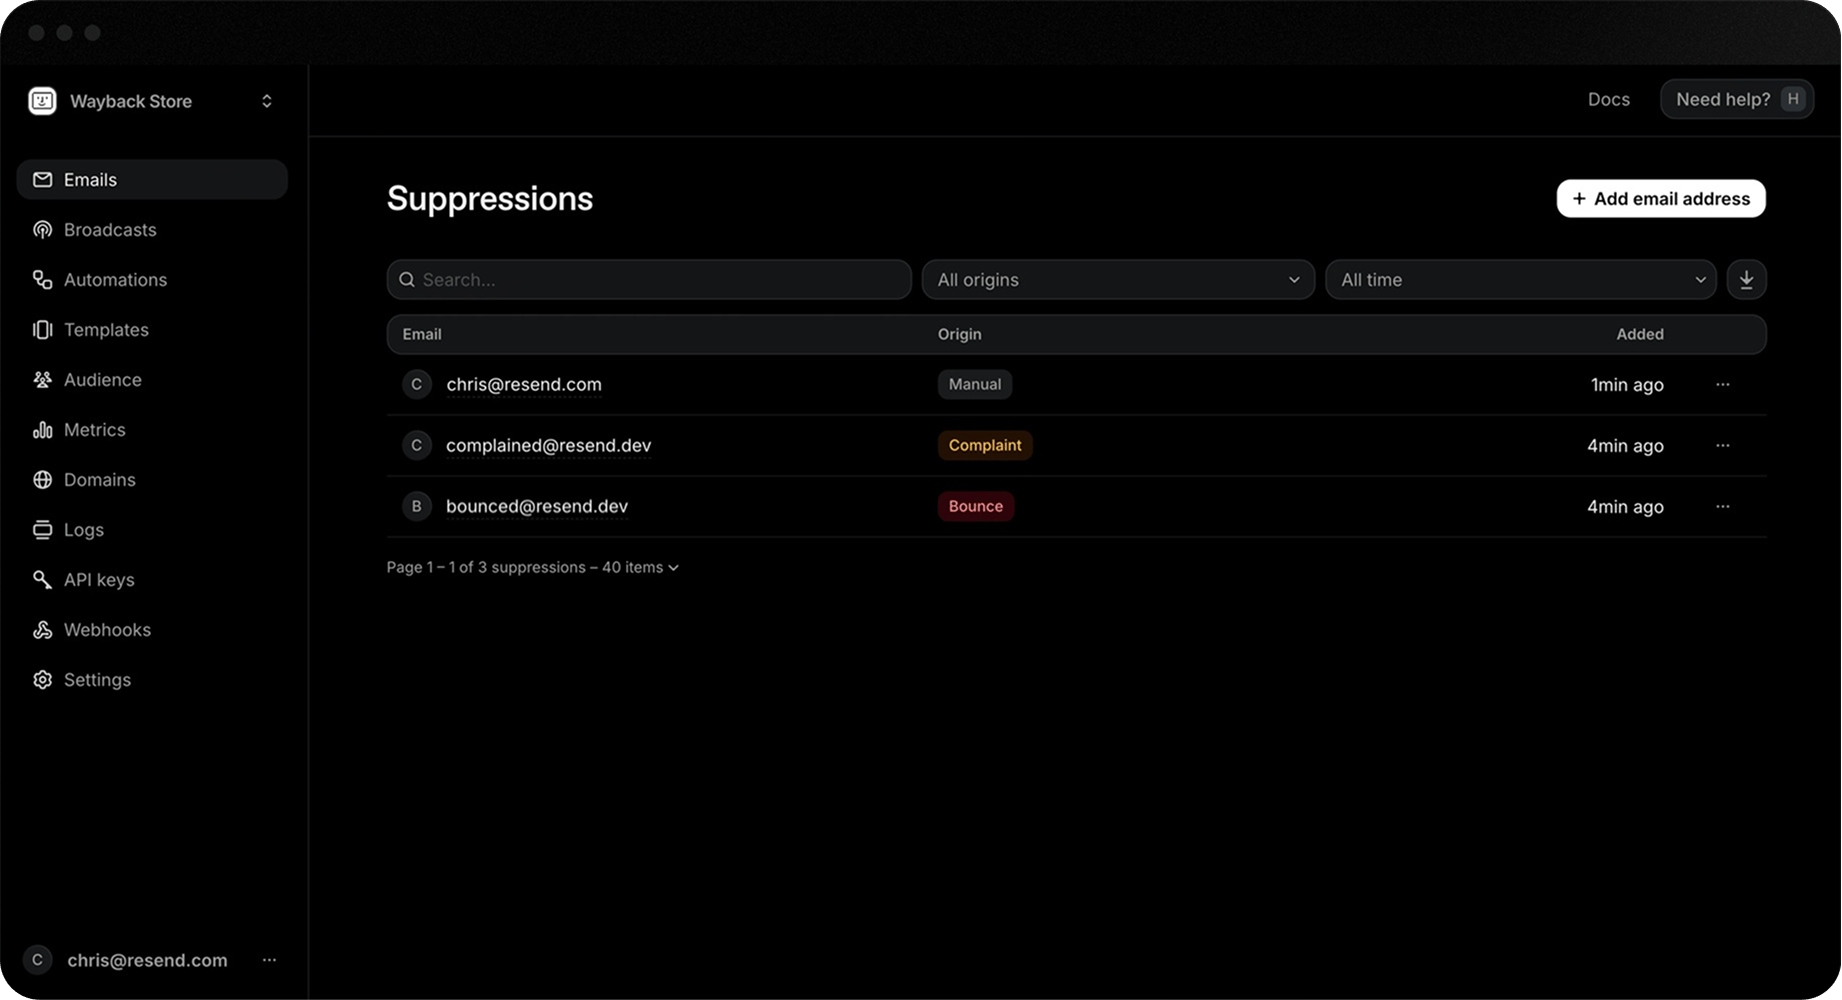
source_id references the email id that triggered the suppression (is null for manual origin suppressions).
Add emails to the Suppression List
In the Dashboard, go to the Suppressions page and click + Add email address to add an email address to the suppression list.- Add manually: enter the email address you want to suppress.
- Import CSV: upload a file with a list of email addresses to suppress.
Remember that adding a Suppression will skip all sending to that recipient
until it is removed from your team’s suppression list.
Remove emails from the Suppression List
Before removing an email address from the suppression list, ensure the reason for suppression has been addressed, or it will be automatically re-suppressed. You can remove an email address from the suppression list in the Dashboard from the Suppressions page.- Search or filter for a suppression.
- Click the more options button and select Remove email address.
Webhook suppression notifications
For maximum visibility, track suppressions using webhook notifications.- suppression.added: triggered when an address is added.
- suppression.removed: triggered when an address is removed.
Export your Suppressions
You can export your suppressions as a CSV file from the Suppressions page. Click the Download CSV button to export your suppressions.