How to Validate Form Inputs
Form validation is a critical part of every web application, impacting user experience, data quality, and security.
Collecting user input is crucial in many email flows, including:
- Waitlist sign-ups
- Contact forms
- Newsletter subscriptions
- Support tickets
- Feedback forms
The key is to balance usability with security. Let's look at some key tips for creating validated form inputs that are robust, accessible, and resistant to common attacks, all while still allowing legitimate users to complete forms smoothly.
1. Require necessary fields
Any required fields should include the required attribute. Adding the required attribute provides a basic level of client-side validation and maintains best accessibility practices.
<input type="email" required />
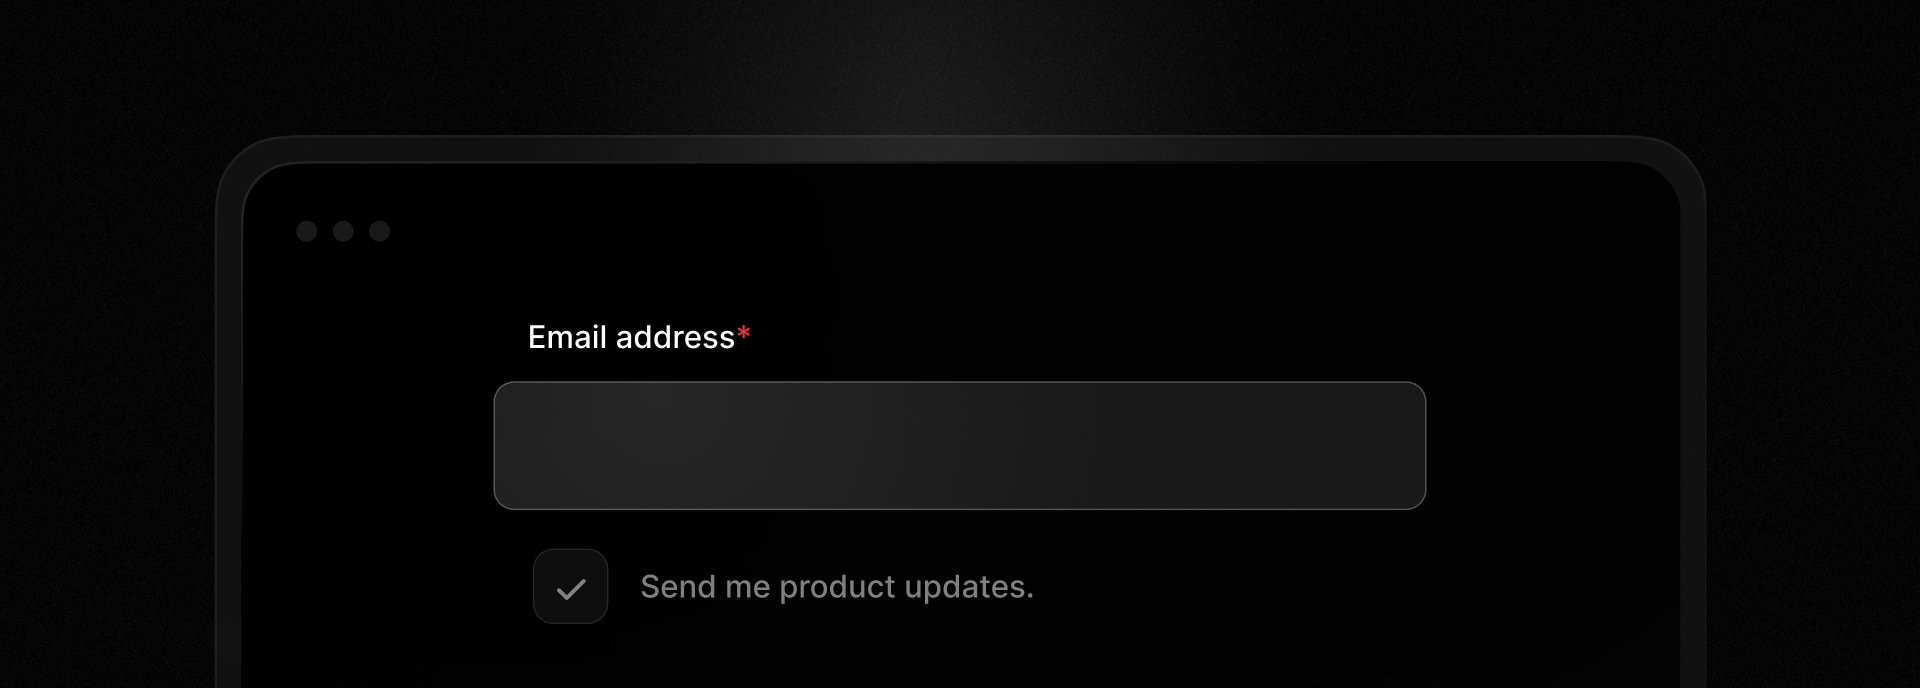
You should also visually identify any required field so your users can immediately identify required information, like adding an asterisk or a label with a required indicator on an email input field for a newsletter subscription.
2. Use proper input types and attributes
HTML5 offers a wide range of input types that include built-in validation and are accessible by default. As a starting point, choose the input type that best fits your need (e.g., email, number, date, tel, etc.). Always supplement these with clear label elements for accessibility and context.
Inputs also include attributes that can help you validate inputs (like maxlength, min, max, or step). Of special interest for collecting emails is the pattern attribute. It provides a regular expression the input must pass to be accepted and works with these input types: text, search, url, tel, email, and password.
<input type="email" pattern="^\S+@\S+$" />
This pattern ensures that the input contains a non-whitespace string, followed by "@", followed by a non-whitespace string. Be careful of being too restrictive with the pattern, as it may prevent users from entering valid email addresses.
While helpful, these validation attributes only cover basic use-cases and only client-side.
3. Validate client-side and server-side
After you properly implement HTML input types and attributes, use a library for more precise validation. While TypeScript provides a level of safety during development, TypeScript does not do runtime validation.
Popular runtime validation libraries include:
- Zod: comprehensive type validation with a powerful schema builder
- Valibot: type validation with a modular API and minimal bundle size
- Validator.js: lightweight and powerful library for string input validation and sanitization
Typically you define a schema that describes the expected structure and format of the input data.
import { z } from "zod";export const subscribeSchema = z.object({name: z.string().max(50, "Name must be less than 50 characters").regex(/^[a-zA-Z\s'-]+$/,"Name can only contain letters, spaces, hyphens, and apostrophes",),email: z.email("Please enter a valid email address")});
At runtime, use the schema to validate the input data, providing detailed error messages if the input is invalid.
You should run server-side validation as well using the same library to ensure data integrity and protect against direct submissions to your API endpoints (e.g., by disabling JavaScript or manipulating requests).
While client-side validation is insufficient, it's still important for several reasons:
- Provides immediate feedback: Validating client-side offers a quicker feedback loop and a better user experience.
- Limits unnecessary server calls: Adding client-side validation can limit users from easily hitting your server endpoints when their inputs don't match your requirements.
- Improves accessibility: Client-side validation can help users who rely on assistive technologies, such as screen readers, by providing immediate feedback on input errors.
- Saves server resources: Client-side validation can reduce the load on your server by preventing invalid requests from reaching it.
4. Validate on blur
Validate user inputs on blur (i.e., after they move to the next input).
Early validation is often intrusive and annoying. If, however, you wait until form submission to show any errors, suddenly multiple errors can be displayed at once or your users may need to scroll to see the errors preventing form submission.
Validating user inputs on blur:
- gives immediate feedback
- shows errors in context
- shows a single error at a time
If a user fails to provide a valid email address, they should be prompted to correct it while still in context, not long after on form submission.
5. Provide clear, inline error messages
For each input, have a corresponding error field to display relevant errors. Consider wording, styling, and accessibility.
Provide clear wording
Follow these best practices for your messages.
- Avoid technical jargon.
- Provide specific errors, avoiding generic messages.
- Use plain language that explains what went wrong and how to fix it.

Show distinct error styling
Your error messages should include visual cues to help users identify the error and related field.
Consider accessibility
For user-created errors (like form inputs), it's important to mark the invalid input with aria attributes to provide clear feedback to assistive technologies.
On error input, set aria-invalid="true" using JavaScript.
<inputtype="email"aria-invalid="true"/>
Associate the error message using the aria-errormessage attribute, linking it by referencing the id.
<inputtype="email"aria-invalid="true"aria-errormessage="email-error"/><p id="email-error">Please enter a valid email address.</p>
You can also apply an aria-live property or use a live region role like alert for more direct feedback. A proper form library should include these accessibility details and is often the best way to ensure accessibility.
6. Protect against bots
It's important to safeguard against bots without annoying users. Consider implementing one or more of these techniques:
Add a honeypot field
A honeypot field is a hidden input field that is ignored by real users, but often filled out by bots. You can add a honeypot field by using the hidden attribute.
<input type="text" hidden name="honeypot" />
When the form is submitted, check to see if the field is filled out and reject the submission if it is.
Unfortunately, many bots cleverly avoid these honeypot fields, so we recommend only implementing this if you have also added at least one other bot detection method.
Add a CAPTCHA
A CAPTCHA is a test that is designed to be easy for humans to pass but difficult for bots to solve. Ideally, choose an invisible CAPTCHA that doesn't degrade the human experience while still providing a high level of security.

Consider one of the popular CAPTCHA services:
- Google reCAPTCHA: helps you detect abusive traffic on your website without user interaction. reCAPTCHA v3 returns a score so you can choose the most appropriate action for your website.
- Cloudflare Turnstile: confirms web visitors are real and blocks unwanted bots without slowing down web experiences for real users.
- Vercel BotID: an invisible CAPTCHA that protects against sophisticated bots without showing visible challenges or requiring manual intervention
7. Sanitize and escape all inputs
Beyond validation, sanitize and escape all user inputs before processing or rendering them. Sanitization helps prevent injection attacks such as SQL injection and cross-site scripting (XSS).
One popular library for sanitization is DOMPurify, although we recommend using Isomorphic DOMPurify if your backend is Node.js, as it provides the same functionality on both client and server.
import DOMPurify from 'isomorphic-dompurify';const sanitizedEmail = DOMPurify.sanitize(userEmail.trim());
On a related note, consider trimming inputs as shown above to ensure user inputs do not contain unnecessary whitespace.
8. Monitor for suspicious patterns
If a user or bot avoids your current protections, it's important to monitor for suspicious patterns. These patterns can include:
- Rapid submissions
- Repeated IPs
- Nonsensical input
- Invalid email addresses
You can protect against these types of attacks by implementing additional measures:
- Rate-limit your submissions to prevent spam and abuse (typically by limiting the number of requests by a given IP address).
- Validate headers, cookies, and submission timing server-side to filter out basic bots.
- Block (or require additional authentication for) known VPNs or ISPs that enable bad actors. You can find public ASN lists (Autonomous System Number) that provide information about these malicious networks and check against them during submission.
When observing suspicious patterns, be mindful that some methods involving user data (like storing IP addresses, etc.) may require disclosure to comply with privacy laws and regulations.
If receiving email addresses, consider verifying them upon form submission, which can help prevent high bounce rates and avoid damaging your sender reputation. View our Best Email Verification APIs Guide for more help.
Conclusion
Effective form validation should be useful and painless for good actors and frustrating and painful for bad actors. Regularly revisit your validation strategy, keep up with new best practices, and always put your users first.
By combining smart client-side checks, robust server-side validation, clear error messaging, and proactive bot/spam defenses, you’ll build forms that are both user-friendly and resilient against attacks.